Weekly Photo Challenge: Change – baking cookies
It is extremely rare for me to bake cookies! However, I wanted to give gifts last Christmas and had little money to spend, and since I hadn’t made cookies of any kind for a long time, I decided to make a project out of it! I downloaded recipes from Weight Watchers to find delicious cookies that wouldn’t be too fattening. One of the most fun was making gingerbread cookies…
Ingredients
- 3 cup(s) Gold Medal® Flour All-Purpose Flour
- 1 1/2 tsp Calumet Baking powder
- 3/4 tsp baking soda
- 1/4 tsp table salt
- 1 Tbsp ground ginger
- 1 3/4 tsp ground cinnamon
- 1/4 tsp ground cloves
- 6 Tbsp unsalted butter, softened
- 3/4 cup(s) dark brown sugar, packed
- 1 large egg(s)
- 1/2 cup(s) Grandma’s Original molasses
- 2 tsp vanilla extract
- 1 tsp lemon zest, finely grated
First, I prepared the dough: Whisk Together: Flour, Baking Powder, Baking Soda, Salt, Ginger, Cinnamon, Cloves. In a separate bowl combine and beat on medium speed until well blended: Butter, Dark brown Sugar, Egg. Add and beat until well combined: Molasses, Vanilla Extract, Lemon Zest . Gradually stir in the dry ingredients until well blended and smooth.
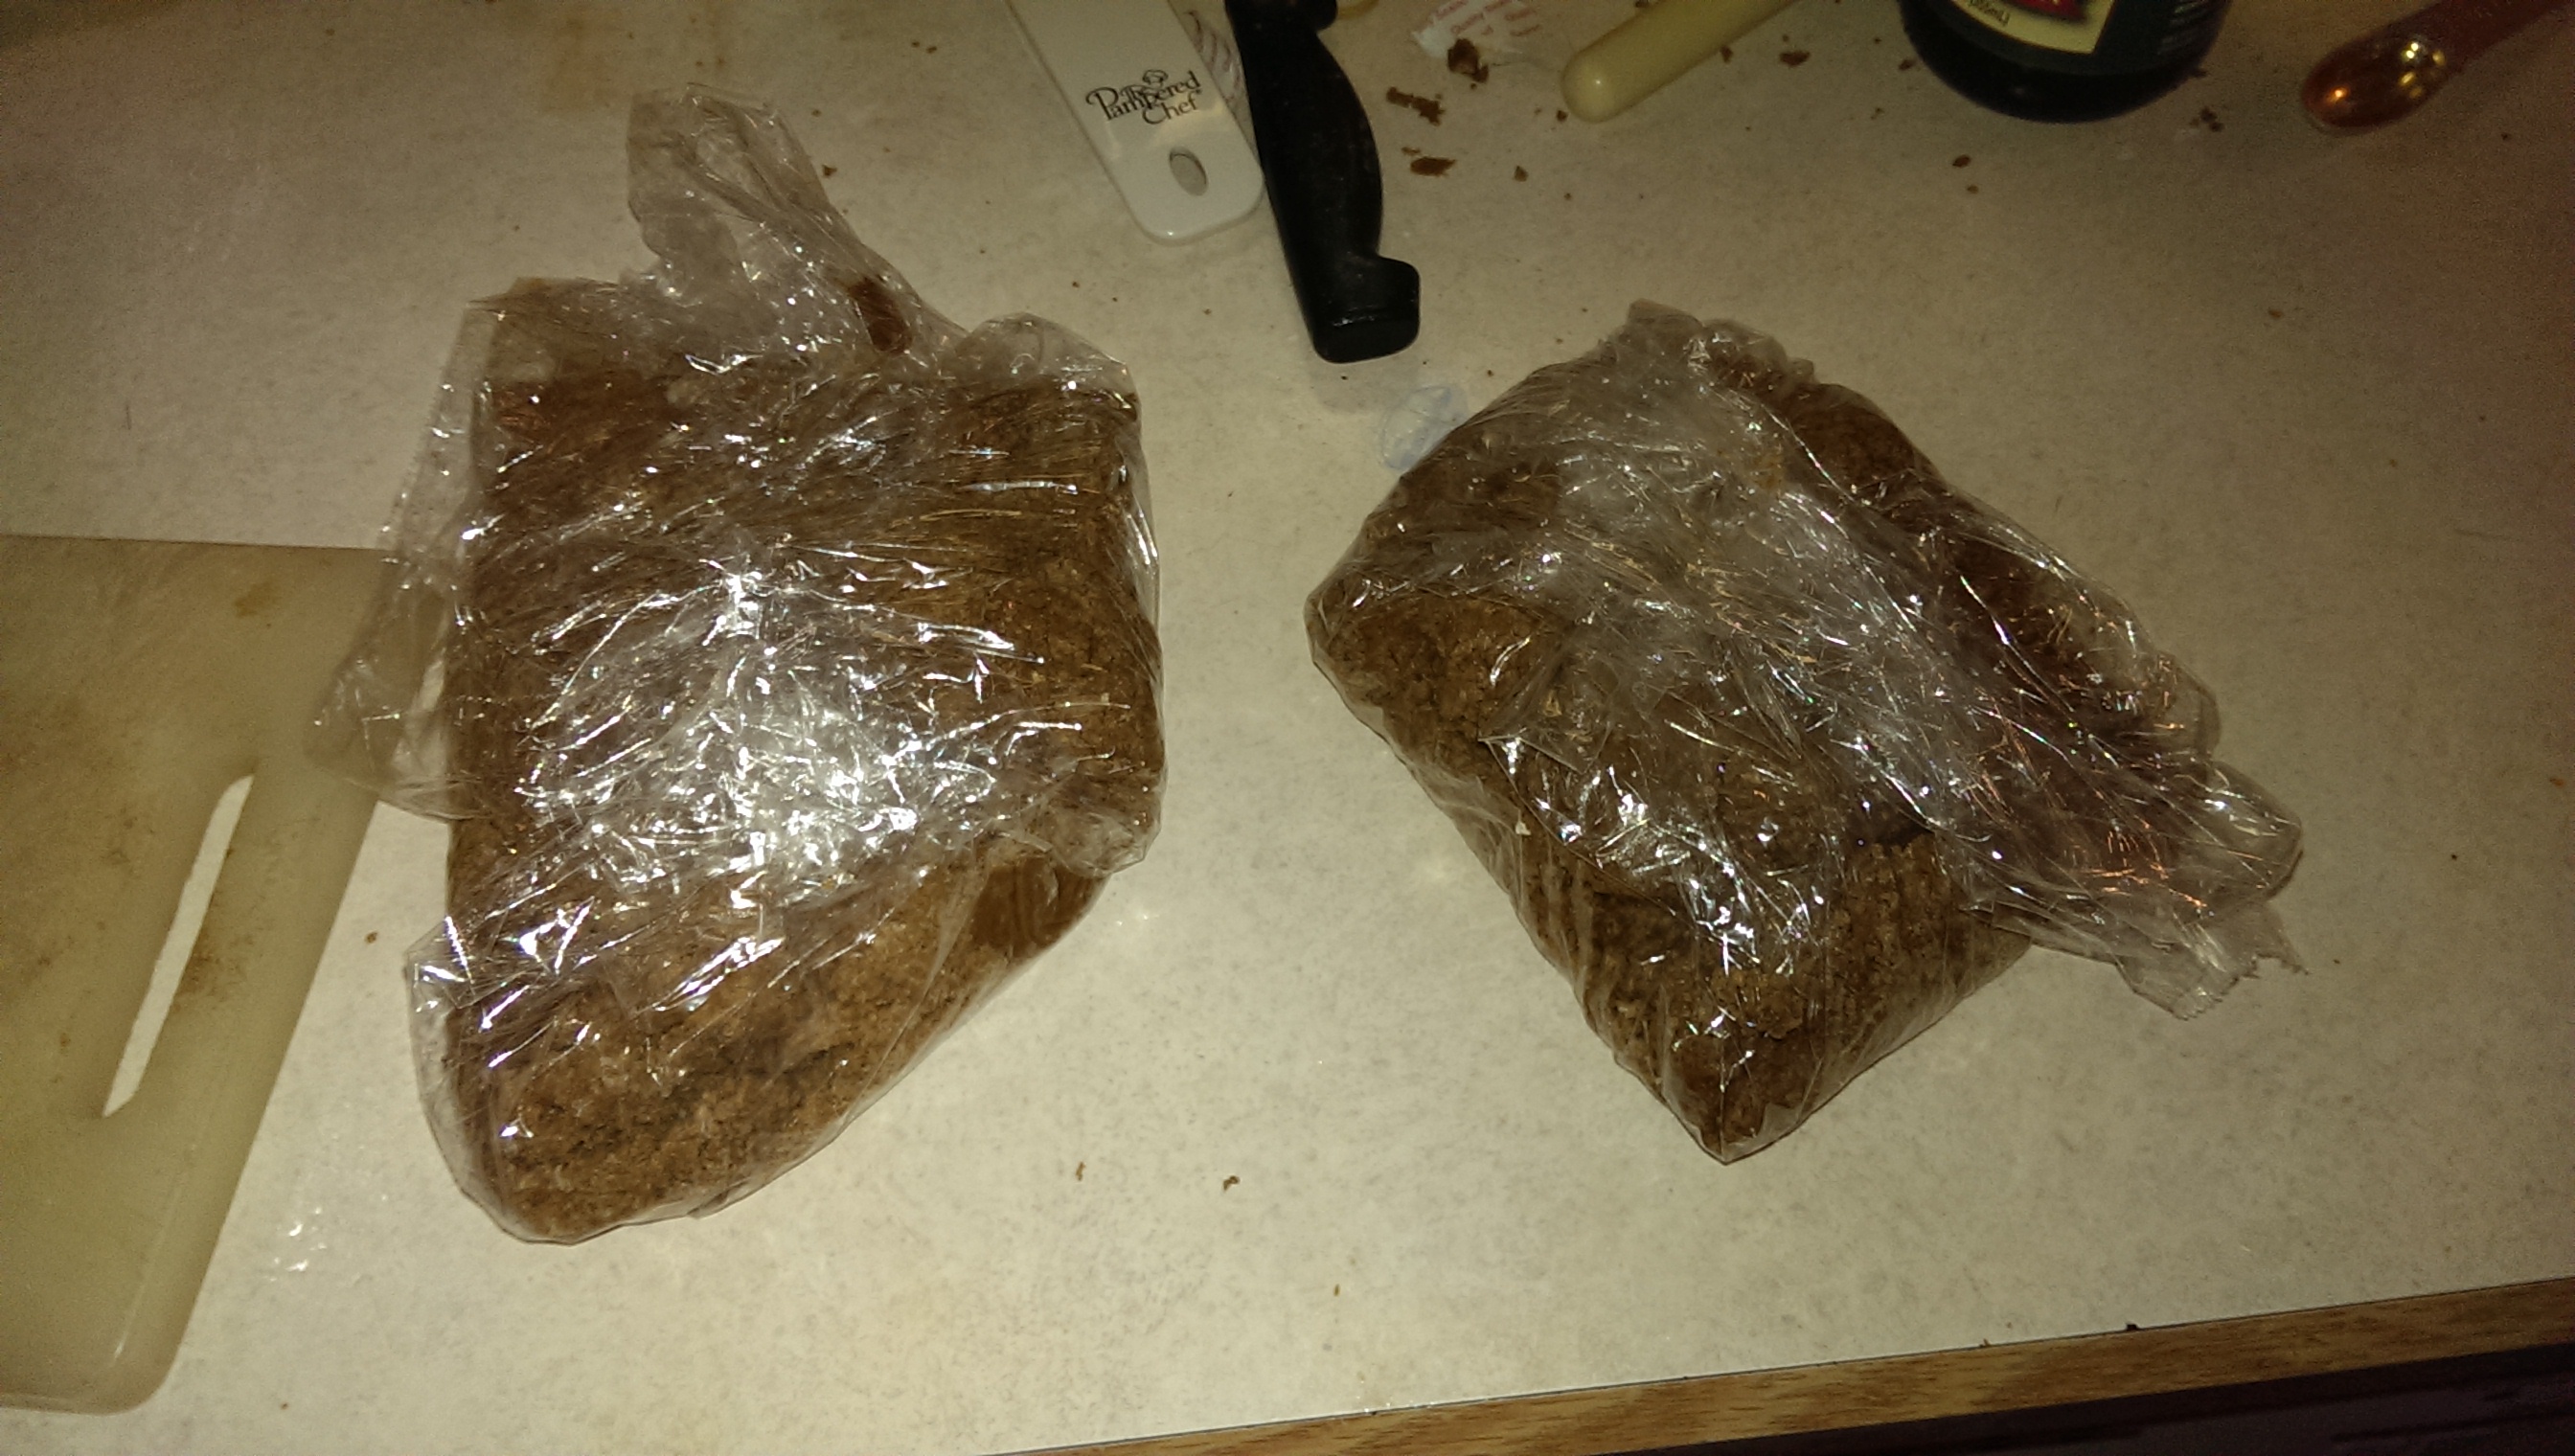
 Next, I divided the dough in half and wrapped each half in plastic. Then I left them at room temperature while I worked on other cookies: Divide the dough in half. Wrap in plastic and let stand at room temperature for at least 2 hours or up to 8 hours. (The dough can also be stored for up to 4 days, but in that case it must be refrigerated. Return to room temperature before using.)
 After a few hours, I rolled out the dough and used my Christmas cookie cutters to make different shapes. Meanwhile I preheated the oven. To bake, position a rack in the upper 3rd of the oven. Preheat the oven to 375 degrees F. Grease cookie sheets. Place 1 portion of the dough on a lightly floured work surface. Very lightly sprinkle flour over the surface of the dough and dust the rolling pin. Roll to a scant 1/2″ thick. Lift the dough frequently and add a bit more flour to to work surface and rolling pin as necessary to prevent sticking. Cut out the cookies using a 4 or 5″ gingerbread boy or girl cutter. With a spatula, transfer them to the cookie sheets, spacing them about 1 1/2″ apart. Roll the dough scraps and continue cutting out cookies until all the dough is used.
 Then they went into the oven and baked. Here, my husband is taking them off the cookie sheet with a spatula. If desired, garnish with raisins or red hots for eyes and buttons. Bake, 1 sheet at a time, until the edges of the cookies are just barely dark, 7 to 10 minutes; rotate the sheet halfway through baking for even browning. Remove from the sheet to a rack and let stand until the cookies firm slightly. Transfer the cookies to racks to cool.
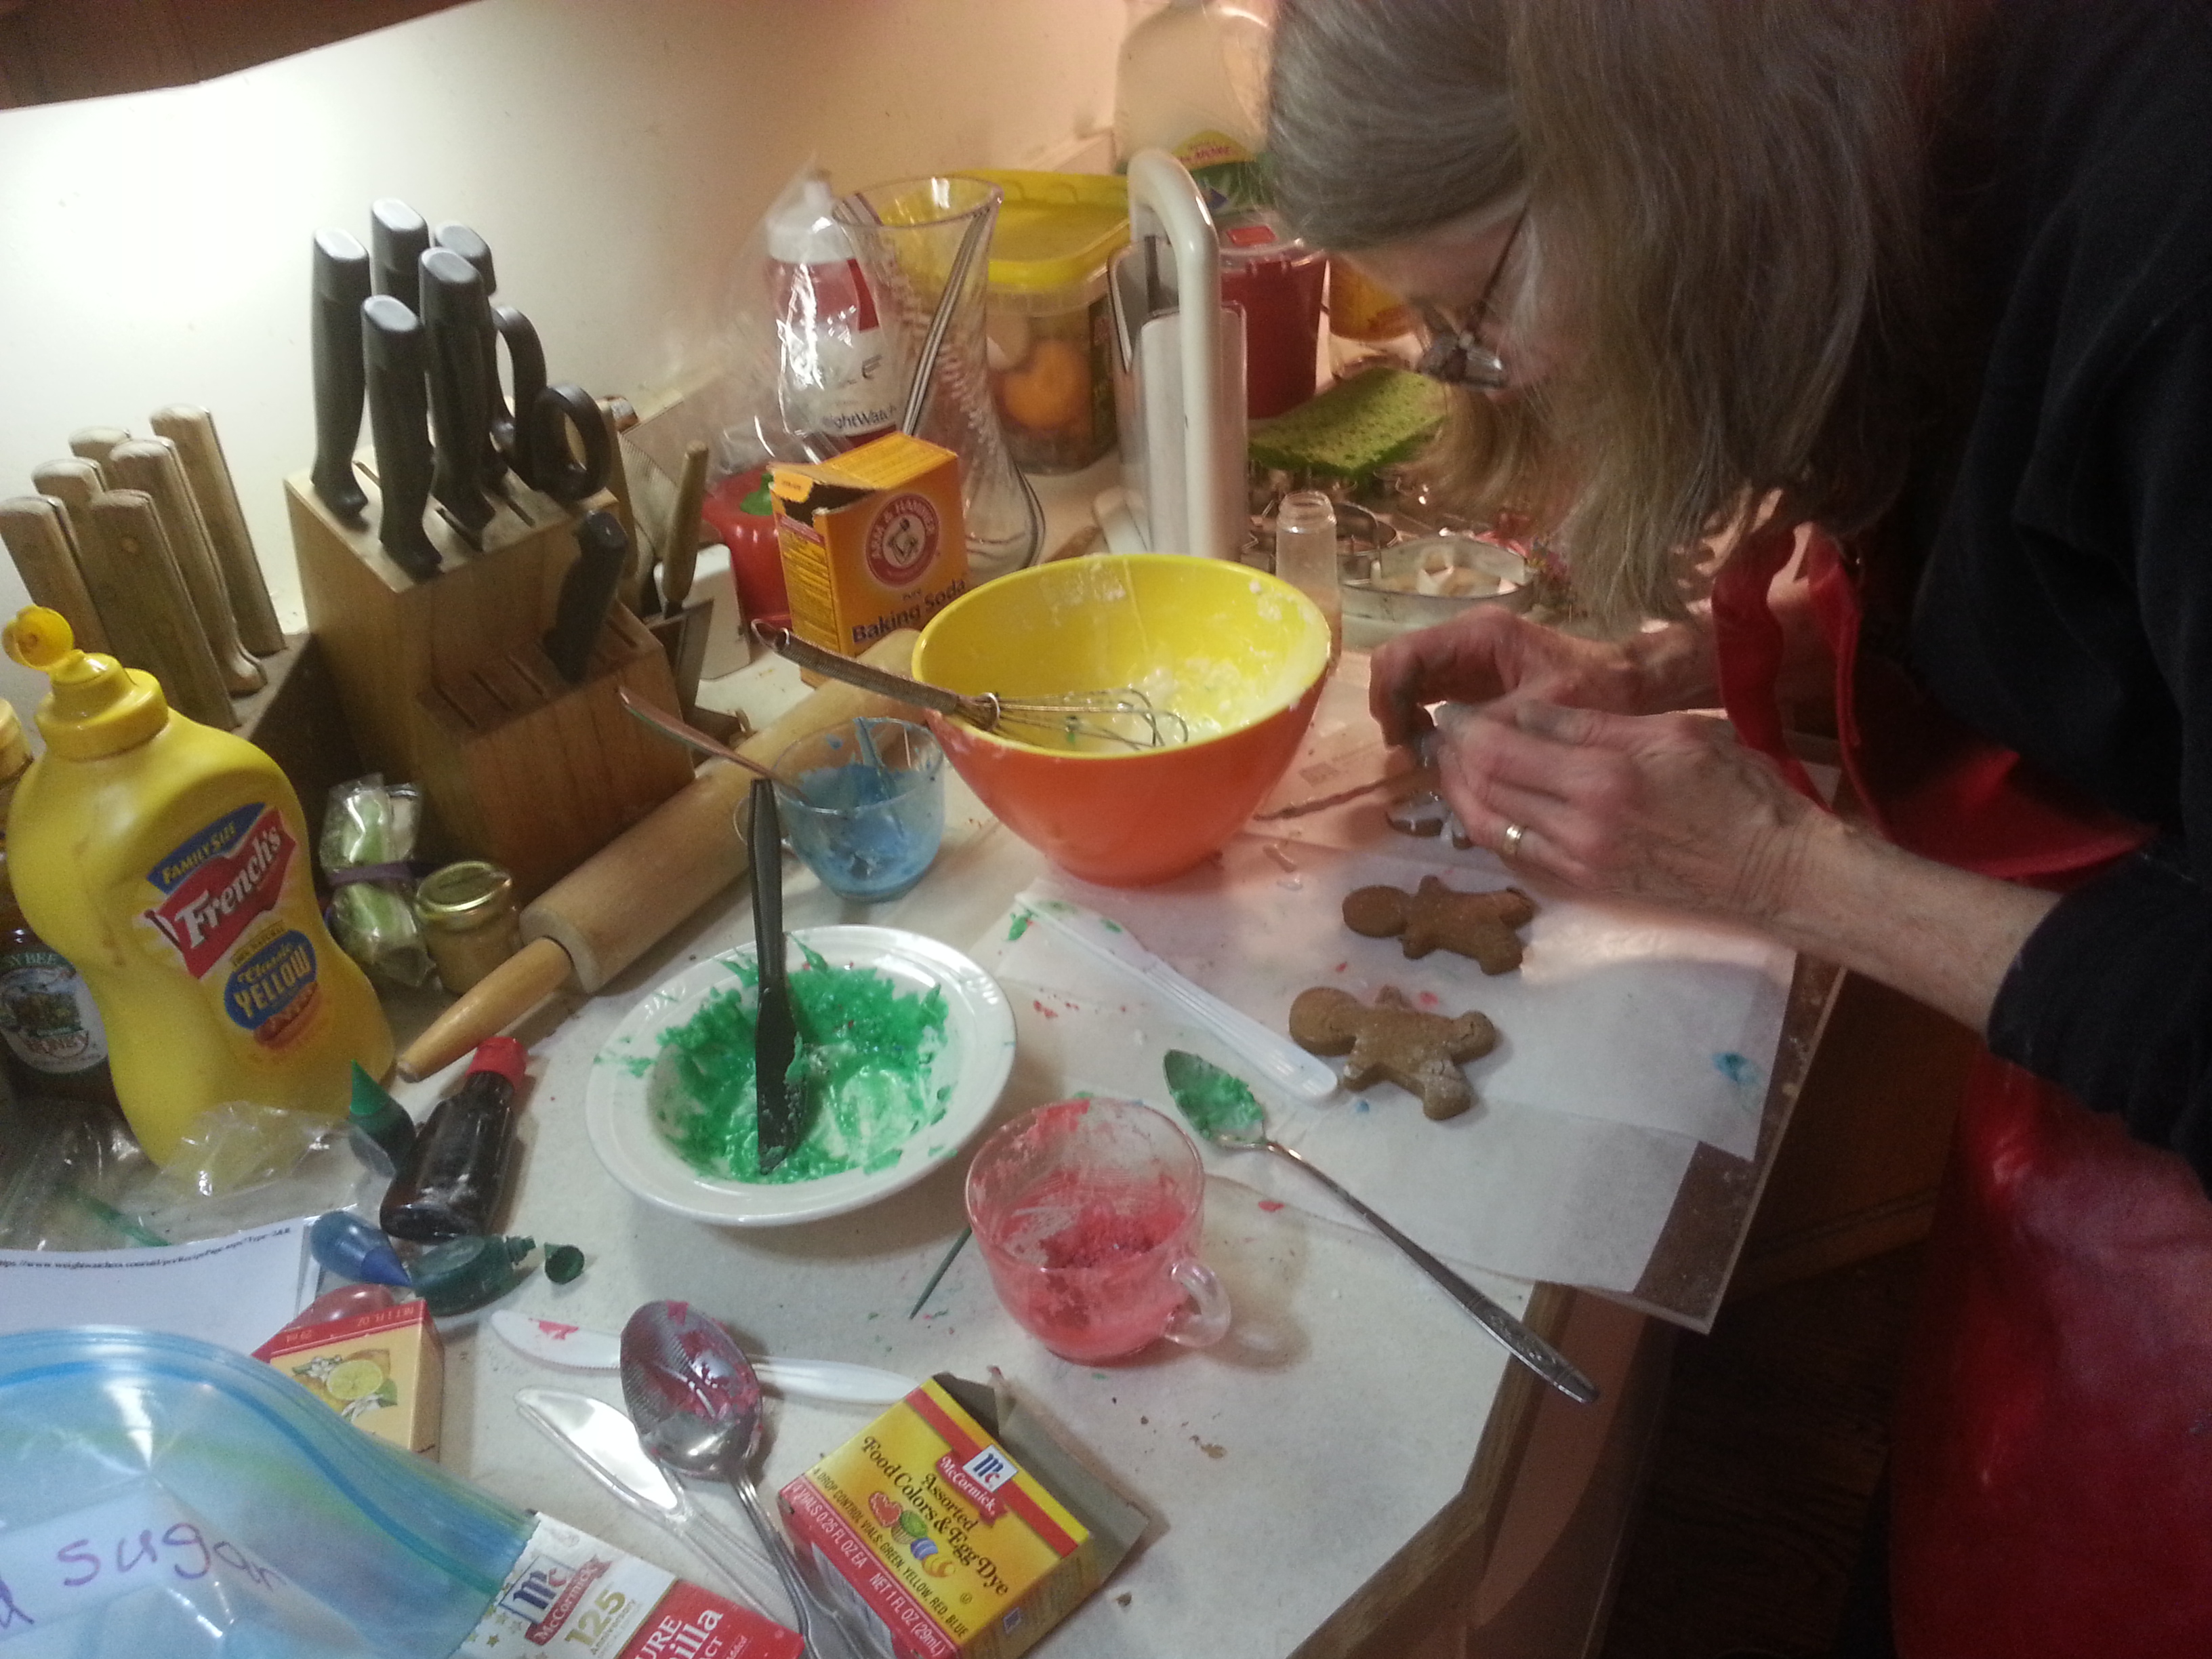
 Now the creative part…decorating them! Decorate with royal or cookie icing as desired. I made standard frosting, using powdered sugar, milk and food coloring. Here I’m using toothpicks to apply details with the icing on the gingerbread boys. My husband wanted to get into the act too!
 Voila! They’re finished and they look festive! I then divided them into separate gift packages for different people, along with other cookies I’d made.
 Making five different cookie recipes was tiring and time-consuming, but rewarding in the end, when I saw (and tasted!) the final results and put them into gift boxes. The best part, though, was the joy these gifts gave to other people. I think I’m going to try some different recipes and make more this year!

These look good!
Thanks! They were!
🙂